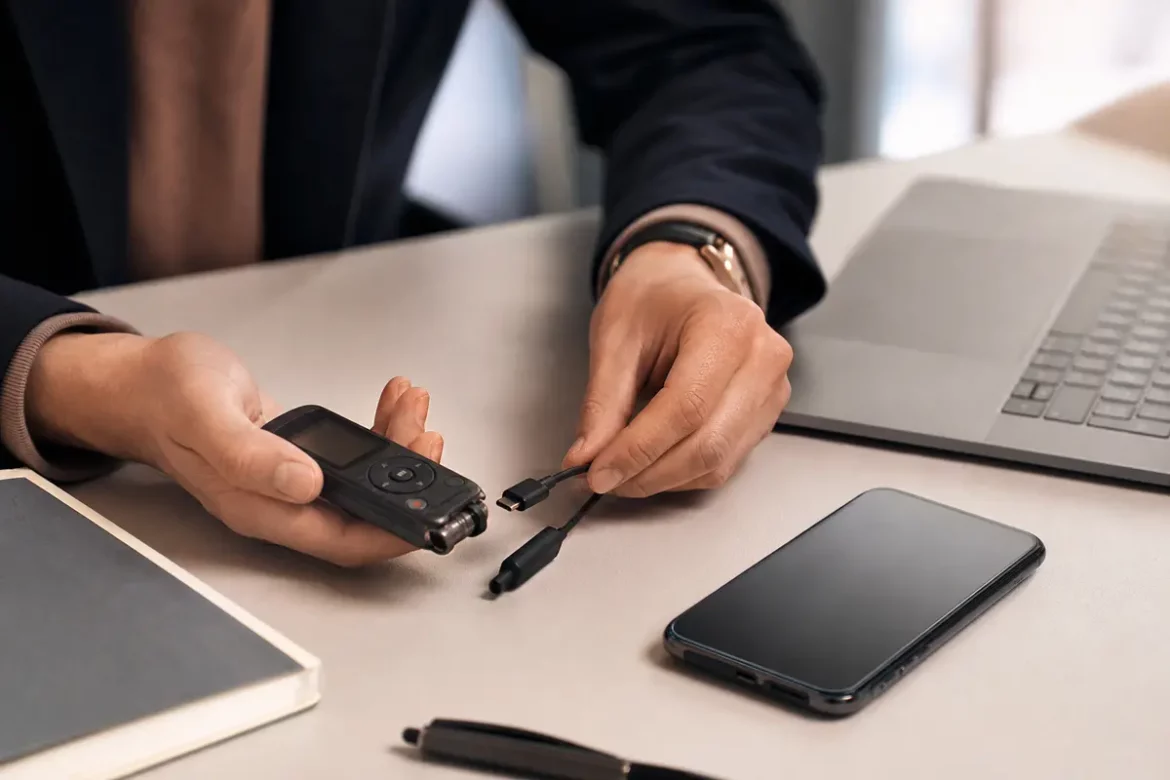
If you need to transfer voice recorder files to phone, the right method depends on two things: the exact recorder model and the type of phone you use. Some digital voice recorders connect directly by USB-C, while others require a computer, an adapter, or a wireless transfer feature. On phones, Android usually offers more file access options than iPhone, but both can work if the devices are compatible.
This guide explains the most reliable ways to move audio recordings from a compatible digital voice recorder to an iPhone or Android smartphone. You will learn when to use a cable, when to use a computer, how to use cloud storage, and how to handle unsupported file formats and connection errors.
What You Need Before You Start
Before you try to move recordings, check the basics first. This can save time and prevent failed transfers.
- A compatible digital voice recorder
- Your iPhone or Android phone
- The correct USB cable or adapter
- A file manager or audio playback app, if needed
- Enough free storage on your phone
- Optional: a computer, cloud account, or wireless transfer app
Not every recorder supports direct phone transfer. Some models only work as USB storage devices, while others use proprietary software or special file formats. If your recorder is not recognized by a computer, read this troubleshooting guide: voice recorder not recognized by computer.
Compatibility Checklist
Use this quick checklist before you begin:
- Recorder connection type: USB-C, micro-USB, USB-A, Bluetooth, Wi-Fi, or proprietary dock
- Phone port: USB-C on many Android phones, Lightning on many iPhones, or USB-C on newer iPhone models
- Adapter support: Lightning to USB adapter, USB-C to USB adapter, or OTG adapter if required
- File format: MP3, WAV, M4A, WMA, DSS, or another recorder-specific format
- App support: Can your phone play the file type without conversion?
- Phone permissions: File access, storage access, and permission prompts enabled
- Power requirements: Some recorders need external power or a powered hub
If one of these items does not match, the direct transfer method may fail and you may need to use a computer or cloud storage instead.
How to Transfer Voice Recorder Files to Android
Android phones often provide the most flexible transfer options. Many Android devices support USB On-The-Go, also called USB OTG, which lets your phone read external storage devices through a cable or adapter.
Method 1: Connect the Recorder Directly with USB-C or OTG
- Check whether your recorder uses USB-C, micro-USB, or a USB cable plus adapter.
- Connect the recorder to your Android phone using the correct cable or an OTG adapter.
- Unlock your phone and wait for the file access notification.
- Open the Files app or your phone’s file manager.
- Find the recorder folder, usually named RECORDER, VOICE, IC RECORDER, or similar.
- Copy the audio files to your phone’s internal storage or SD card.
- Open the files in a mobile audio app that supports the format.
If the recorder appears but the files do not open, the format may not be supported by your default player. Try a different app such as VLC, a dedicated audio player, or the recorder manufacturer’s app.
Method 2: Use a Computer as the Middle Step
If direct Android transfer does not work, use a computer first.
- Connect the recorder to the computer with its original USB cable.
- Copy the audio files to a folder on the computer.
- Connect your Android phone to the computer with a data cable.
- Use file transfer mode on the phone.
- Drag the recordings into the phone’s Music, Download, or Documents folder.
This method is often the easiest way to move large files or unsupported folders because the computer can handle more file systems and file names than a phone alone.
Method 3: Cloud Storage for Android
Cloud storage is helpful when you want to avoid cables.
- Upload the audio files from the recorder to a computer or supported mobile app.
- Save the files to Google Drive, Dropbox, OneDrive, or another cloud service.
- Open the same cloud app on your Android phone.
- Download the files for offline playback, or stream them directly if supported.
This is a practical backup method if your phone cannot read the recorder directly.
Android Troubleshooting Tips
- If nothing happens when you connect the recorder, check that OTG is enabled on the phone.
- If the device disconnects, the recorder may need more power than the phone can provide.
- If the file does not appear, look for hidden folders or nested subfolders.
- If playback fails, install an app that supports the exact recording format.
How to Transfer Voice Recorder Files to iPhone
iPhones can transfer audio files too, but they usually require more planning because iOS is more restrictive about external storage access. The exact process depends on whether your iPhone uses Lightning or USB-C and whether your recorder can connect directly or through an adapter.
Method 1: Use a Supported Lightning or USB-C Connection
For older iPhones, you may need a Lightning to USB adapter. Newer iPhone models with USB-C can often connect through a compatible USB-C cable or adapter.
- Confirm that your recorder can expose files as USB storage.
- Connect the recorder to the iPhone using a compatible adapter.
- If prompted, allow accessory access or trust the device.
- Open the Files app to see whether the recorder appears as an external drive or source.
- Copy the recordings into On My iPhone or a cloud-connected folder.
Not every recorder works with iPhone direct access. If the Files app does not recognize the device, use a computer or cloud service instead.
Method 2: Transfer Through a Computer
This is often the most reliable option for iPhone users.
- Connect the recorder to a computer and copy the audio files.
- Import the recordings into iCloud Drive, AirDrop, Finder, iTunes, or the Files app workflow that fits your setup.
- Open the Files app on your iPhone and download the recordings locally if needed.
- Use an audio app that can open the file format.
If you use a Mac, AirDrop can be fast for small files after the recordings are saved on the computer. For Windows users, cloud storage is often the simplest handoff to iPhone.
Method 3: Cloud Storage on iPhone
Cloud storage is one of the easiest ways to transfer voice recorder files to phone when direct cable access is not available.
- Upload the recording from a computer or supported app to iCloud Drive, Dropbox, or Google Drive.
- Open the cloud app on your iPhone.
- Download the file or open it in the Files app.
- Share the file to a playback app if needed.
This approach is especially useful for speech recordings, interviews, or notes that you want to access across multiple devices.
iPhone Playback App Options
iPhone can play common audio formats through the built-in tools, but not every recorder format will open correctly. If the file is not supported, try a dedicated app that can handle more formats. A file converter may also be needed for proprietary recordings.
- Built-in Files app playback for common formats
- Third-party audio players with broader codec support
- Manufacturer apps, if your recorder offers iPhone software
Using Bluetooth or Wi-Fi Transfer When Supported
Some modern recorders include Bluetooth or Wi-Fi transfer. These features are convenient, but they are not universal.
Bluetooth: Usually useful for small files, quick sharing, or remote control. Transfer speed can be slower than USB, and some recorders only use Bluetooth for playback or pairing, not file transfer.
Wi-Fi: Often the best wireless option. The recorder may create its own network or connect to your home Wi-Fi, then sync files to a phone app or web portal. This can be useful when the recorder and phone are not near a computer.
Always check the manufacturer instructions because wireless features vary widely from one model to another. A recorder may support wireless syncing on Android but not iPhone, or vice versa.
Common Connection Errors and Fixes
If your transfer fails, start with the most common problems.
1. The phone does not detect the recorder
Possible causes include a charge-only cable, a bad adapter, unsupported OTG, or a recorder that does not act as external storage. Try a different cable, enable OTG, or use a computer instead.
2. The files appear but will not open
The audio format may be unsupported. Some voice recorders save in WAV, MP3, or M4A, while others use formats like DSS or proprietary containers. Convert the file on a computer if needed.
3. Permission or access errors
On Android, allow storage permissions for the file manager or playback app. On iPhone, approve accessory prompts and make sure the file is saved to a location the app can read.
4. The recorder disconnects during transfer
Low power is a common reason. Some recorders need a powered USB hub or a computer rather than a phone for stable transfer.
5. The file is missing after transfer
Check the destination folder carefully. Some apps save to Downloads, Documents, or app-specific storage instead of the main music folder.
Unsupported Audio Formats Explained
One of the biggest reasons users struggle to transfer voice recorder files to phone is file compatibility. A phone may copy the file successfully but still fail to play it.
Common supported formats include MP3, WAV, and M4A. Less common recorder formats may need conversion before playback on a phone. This is especially true for business dictation recorders and older professional devices.
If the recording is important, avoid converting the file repeatedly. Keep one original copy in a safe folder or cloud backup, then create a phone-friendly copy for daily use.
File Permissions and Safe Transfer Practices
Protect your recordings while moving them between devices. Voice files can contain sensitive personal, business, or legal information.
- Only use trusted cables, adapters, and apps
- Keep an original backup before editing or converting files
- Use encrypted or password-protected cloud storage when possible
- Delete temporary copies from shared computers after transfer
- Check app permissions before granting full file access
- Scan files on your computer if they came from an unknown source
For additional help when a recorder is not being detected by your computer during a transfer workflow, see our detailed troubleshooting guide here: voice recorder not recognized by computer.
Best Mobile Audio Playback Apps
The right app can make playback much easier, especially if your recorder uses a less common format. Look for an app that supports background playback, file browsing, and common audio codecs.
- Android: VLC, file manager audio players, or a manufacturer app
- iPhone: Files app, voice memo-compatible tools, or third-party audio players
If a file does not play in the default app, do not assume the transfer failed. The file may be fine but encoded in a format your phone cannot read natively.
When a Computer Is the Best Option
Use a computer if your recorder has a proprietary connection, your phone cannot mount the drive, or the recording format is not supported. A computer is also the best choice for organizing large batches of recordings, renaming files, converting formats, and making backups before sending them to a phone.
In many cases, the computer is not a workaround. It is simply the most dependable bridge between a recorder and a mobile device.
Final Thoughts
The easiest way to transfer voice recorder files to phone depends on the recorder’s connection type, file format, and wireless features, as well as your phone’s adapter and storage support. Android often offers more direct file access, while iPhone may work best through a computer or cloud service. If direct transfer fails, do not assume the recorder is broken. In many cases, the issue is just a cable, adapter, permission, or format mismatch.
Start with the compatibility checklist, try the direct method first, and fall back to a computer or cloud transfer when needed. With the right setup, you can move your recordings safely and play them on your phone in just a few steps.
FAQs
Can I transfer voice recorder files directly to my phone?
Yes, if your recorder supports USB storage, Bluetooth, Wi-Fi, or a compatible adapter. Whether direct transfer works depends on the exact recorder and phone model.
Why won’t my phone open the recording file?
The file format may not be supported by your phone’s default app. Try a different audio player or convert the file on a computer.
Do all Android phones support USB OTG?
No. Many do, but not all. Check your phone’s specifications or test with a known OTG adapter and supported cable.
Can iPhone read a voice recorder like a USB drive?
Sometimes, but not always. iPhone support depends on the recorder, the adapter, and iOS file access behavior.
What is the safest way to move important recordings?
Back up the original file first, then copy it to your phone or cloud storage. Avoid editing the only copy of the recording.