If you rely on a digital voice recorder for interviews, lectures, meetings, or presentations, an external microphone for voice recorder use can make a bigger difference than changing the recorder itself. The right microphone can improve clarity, reduce unwanted room noise, and help you capture speech more cleanly in real-world settings. The key is choosing a mic that matches your recorder’s input, connector type, and power requirements.
This guide explains when an external mic is worth buying, how to check compatibility before you purchase, and how to set it up correctly for reliable recording. You’ll also find a practical comparison of common microphone types, a compatibility checklist, and a list of connection mistakes to avoid.
When an external microphone makes a difference
A built-in recorder microphone is often enough for quiet, close-range voice notes. But an external microphone becomes useful when you need better speech pickup in a specific direction, more consistent placement, or a setup that fits a particular environment.
Consider an external microphone when you are recording:
- Interviews: A lavalier or directional mic can keep speech clear and separate from room noise.
- Classrooms: A desktop or omnidirectional mic can capture multiple speakers more naturally.
- Presentations: A lavalier mic helps capture the speaker without forcing them to stay close to the recorder.
- Business meetings: An omnidirectional or desktop mic may work well when several people are speaking around a table.
If your main challenge is background noise, placement and microphone choice matter just as much as the recorder itself. For related tips on reducing unwanted sound, see this guide on how to reduce background noise in voice recording.
Microphone inputs versus headphone outputs
Before buying an external microphone for voice recorder use, check whether your recorder has a true microphone input. This is one of the most common compatibility issues.
Microphone input ports are designed to receive a low-level audio signal from a mic. They may be labeled as:
- Mic In
- External Mic
- Microphone
- 3.5 mm input
Headphone output ports are different. They send audio out of the recorder and are not meant for microphone input. Plugging a mic into a headphone jack will not work unless the device supports a combined audio jack with the correct wiring, and even then it may still require an adapter.
Some recorders use a shared jack for headphones and microphone input. Others have separate ports. Always check the manual or product specifications before purchasing any microphone or adapter.
3.5 mm TRS and TRRS connectors explained
Most portable microphones for recorders use a 3.5 mm connector, but not all 3.5 mm plugs are wired the same way. Understanding the difference between TRS and TRRS can save you from buying the wrong accessory.
TRS stands for Tip-Ring-Sleeve. This is the standard three-contact plug commonly used for many camera and recorder microphones.
TRRS stands for Tip-Ring-Ring-Sleeve. This four-contact plug is often used for smartphones and headsets that combine microphone and headphone functions.
Here is the simple rule:
- Use TRS if your recorder expects a standard microphone input.
- Use TRRS only if your recorder or adapter specifically supports it.
If your microphone and recorder use different standards, you may need an adapter. However, adapters do more than change the plug shape; they may also change how the signal is routed. A mismatch in wiring can cause low volume, distortion, or no signal at all.
Plug-in power requirements
Many compact recorders supply plug-in power, a small amount of voltage sent through the microphone input to power certain external mics. This is common in portable voice recorders and consumer audio gear.
Why this matters:
- Some microphones need plug-in power to operate correctly.
- Some microphones do not need it and may work better without it.
- An incompatible power arrangement can create hum, weak audio, or no audio.
Check the recorder specification for terms such as:
- Plug-in power
- Bias power
- Mic power
- Powered microphone input
If a microphone requires battery power, phantom power, or USB power, it may not be suitable for a standard handheld voice recorder without additional equipment. Always confirm that the microphone’s power needs match what the recorder can provide.
Microphone adapters: when you need one
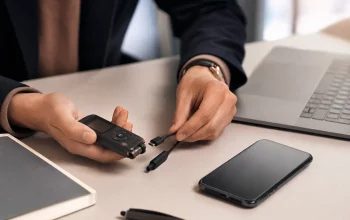
An adapter can solve a connection mismatch, but it should be chosen carefully. The most common uses are converting between TRS and TRRS, matching a different connector size, or interfacing between a recorder and a specialty mic.
You may need an adapter if:
- Your mic uses TRRS and your recorder expects TRS.
- Your recorder has a combined headset-style jack.
- You need to connect a mic with a nonstandard plug.
- The recorder’s input is recessed and needs a right-angle connector for a better fit.
Choose adapters from reputable brands whenever possible. Low-quality adapters can loosen easily, introduce noise, or create intermittent contact. If your recording is for work, presentations, or interviews, test the adapter before the actual session.
Choosing the right microphone type for your use case
The best microphone is not always the most expensive one. It is the one that fits your recording situation and your recorder’s input. Below is a practical breakdown of the main microphone types used with portable recorders.
| Microphone type | Best for | Strengths | Trade-offs |
|---|---|---|---|
| Lavalier | Interviews, presentations, on-the-go speaking | Hands-free, close to the mouth, discreet | Can pick up clothing rustle if not clipped well |
| Directional | Focused speech capture, one speaker, controlled setups | Targets sound from the front and rejects more side noise | Requires more careful aiming and placement |
| Omnidirectional | Classrooms, meetings, group discussion | Captures sound evenly from many directions | More likely to pick up room noise |
| Desktop | Desk interviews, conference tables, fixed recording spots | Stable, easy to use, good for stationary recording | Less flexible for moving speakers |
Lavalier microphones
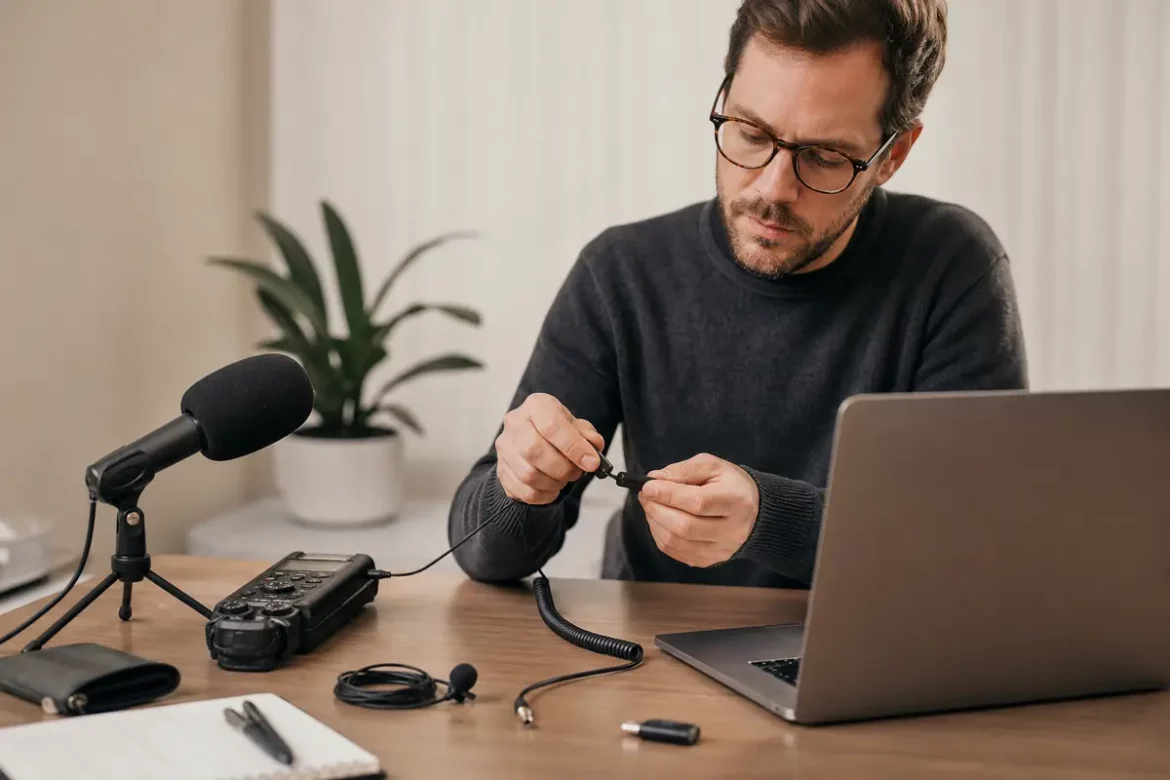
A lavalier microphone clips to clothing and stays close to the speaker’s mouth. It is a strong choice for interviews, lectures, and presentations where the speaker needs freedom to move. Lavalier mics are often the easiest option for natural speech capture because they stay in a consistent position relative to the voice.
Important setup note: clip placement matters. Avoid rubbing against fabric, necklaces, or ties. Even a good microphone can sound poor if the cable moves during speech.
Directional microphones
Directional microphones are useful when you want to emphasize one voice and reduce sounds from the sides. They are often a good match for solo presenters, field interviews, and structured recordings in noisy rooms.
These mics are usually more sensitive to aiming than omnidirectional models, so place them carefully. A small angle change can affect how clearly speech is captured.
Omnidirectional microphones
Omnidirectional microphones pick up sound from all directions more evenly. That makes them helpful for meetings, roundtable discussions, and classrooms where more than one person is speaking.
They are less ideal in noisy environments because they do not isolate one voice as strongly as directional models. Still, for group conversations, they often produce the most natural result.
Desktop microphones
Desktop microphones sit on a table or stand and are useful for business meetings, panel discussions, and stationary office recordings. They are easy to deploy and can be a smart choice when the recorder stays in one place.
For the best result, keep the mic centered among speakers and reduce table bumps, paper rustling, and laptop fan noise.
Compatibility checklist before you buy
Use this checklist to avoid buying an external microphone for voice recorder use that does not work with your device.
- Confirm the recorder has a real microphone input.
- Check whether the input is 3.5 mm, USB-C, or another type.
- Identify whether the jack uses TRS or TRRS wiring.
- Review whether the recorder provides plug-in power.
- Match the microphone’s power requirement to the recorder’s output.
- Decide whether you need a lavalier, directional, omnidirectional, or desktop mic.
- Check whether an adapter is required and what type.
- Look for cable length that suits your setup without excess slack.
- Verify that the microphone can be used with your recorder model.
- Plan a short test recording before any important session.
Gain settings and level control
Once the mic is connected, gain settings determine how strong the signal reaches the recorder. Too little gain creates low audio that may be difficult to hear. Too much gain can cause clipping, distortion, or harshness.
Start with a moderate input level, then record a test sample while speaking at the same volume you expect to use in the real session. If the recorder has automatic gain control, check whether it helps or hurts your use case. In quiet environments, automatic gain may raise background noise. In meetings, it can be useful if voices vary widely in volume.
Make small changes and listen back. Do not rely only on the input meter. A recording can show healthy levels and still sound noisy if the mic is poorly placed or overdriving the input.
Cable placement and handling
Cable management is often overlooked, but it can have a major effect on recording quality. A loose or rubbing cable can create taps, scratches, and handling noise that no amount of post-editing will fully remove.
Best practices include:
- Keep the cable slack away from moving parts and clothing friction points.
- Use clips or tape to stabilize the cable when needed.
- Avoid running the cable near power bricks and other electronic devices when possible.
- Leave enough slack for natural movement without pulling on the connector.
- Use right-angle connectors if the recorder pocket or mount creates strain on the plug.
For lavalier setups, route the cable under clothing carefully and check for rubbing before you begin recording.
How to run a simple recording test
Never assume a new microphone will work perfectly on the first try. A short recording test takes only a few minutes and can prevent lost audio during an interview or meeting.
Use this process:
- Connect the microphone fully and confirm the plug is seated properly.
- Speak at the volume you plan to use in the actual session.
- Record 20 to 30 seconds of normal speech.
- Move slightly, pause, and speak again to check handling noise and consistency.
- Listen back through headphones if your recorder supports monitoring.
- Check for hum, distortion, low volume, or crackling.
- Adjust placement, gain, or adapter choice if needed.
If the audio sounds weak or noisy, change only one variable at a time so you can identify the cause. This makes troubleshooting much faster.
Common connection mistakes to avoid
Many problems with an external microphone for voice recorder setups come from simple connection errors rather than a bad microphone.
- Using the headphone jack instead of the mic input: This is one of the most common mistakes.
- Mixing up TRS and TRRS: The connector may fit physically but still fail electronically.
- Ignoring plug-in power needs: Some microphones need it, while others may not tolerate it.
- Assuming all 3.5 mm jacks are the same: They are not.
- Using a low-quality adapter: Cheap adapters can introduce noise or loosen mid-recording.
- Skipping a test recording: A quick test can reveal issues before a real session.
- Poor cable routing: Movement noise can ruin otherwise clean speech.
Which microphone setup works best for each scenario?
To simplify your buying decision, here are practical matches by use case.
- Interviews: Lavalier mic for mobility, or directional mic for a more focused setup.
- Classrooms: Omnidirectional mic if several voices need to be captured evenly.
- Presentations: Lavalier mic for a single speaker moving around the room.
- Business meetings: Desktop or omnidirectional mic for table-based group discussion.
If your environment is noisy, choose the microphone type that best supports speech clarity and then improve the room conditions where possible. A good setup plus better placement usually outperforms a complex setup with poor compatibility.
Final buying advice
When shopping for an external microphone for voice recorder use, focus first on compatibility, then on microphone style. The best purchase is the one that connects properly, receives the right power, and fits the way you actually record. If you confirm the input type, connector standard, and power requirements before buying, you can avoid most setup problems and get better results from your recorder right away.
For many users, a simple microphone with the correct connector and a clean test recording is more valuable than a more advanced model that is difficult to connect. Start with the recording scenario, choose the right mic type, and verify every connection before the session begins.
FAQs
Can I use any external microphone with a voice recorder?
No. The microphone must match the recorder’s input type, connector standard, and power requirements. A plug that fits physically may still be electrically incompatible.
What is the difference between TRS and TRRS?
TRS has three contacts and is commonly used for standard microphone inputs. TRRS has four contacts and is often used for smartphone headsets. They are not always interchangeable.
Do voice recorders provide power for external microphones?
Some do, but not all. Many portable recorders provide plug-in power for compatible microphones. Check the recorder specifications before buying.
Which microphone is best for interviews?
A lavalier microphone is often the most practical choice for interviews because it stays close to the speaker and allows hands-free movement. A directional mic can also work well in controlled settings.
Why does my external microphone sound quiet?
Common causes include the wrong input jack, an incompatible adapter, missing plug-in power, or gain set too low. A quick test recording usually reveals the issue.