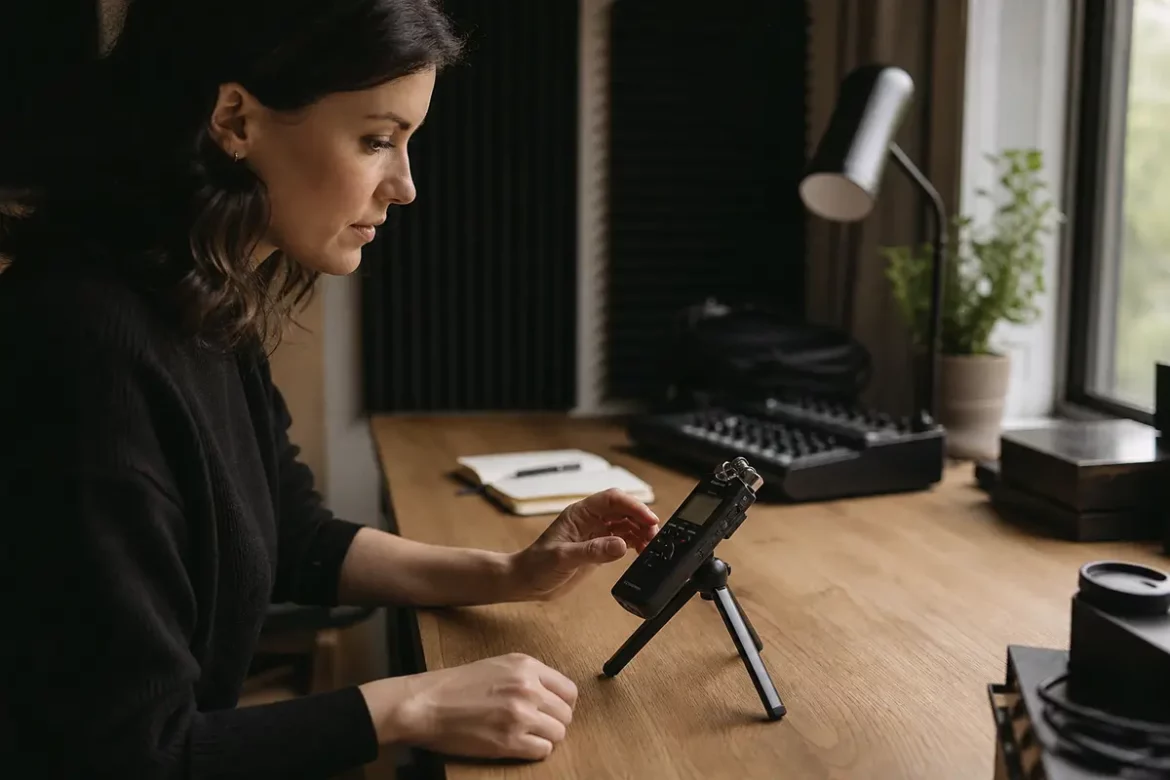
Background noise can make even a great voice recorder sound unprofessional. The good news is that most noisy recordings are fixable before, during, and after recording. If you want to know how to reduce background noise in voice recording, the solution usually comes down to a few practical steps: place the recorder correctly, set the mic and gain with care, prepare the room, protect against wind, and clean up the audio afterward.
This guide walks through the most effective ways to get cleaner speech recordings without making the process complicated. Whether you are recording interviews, notes, lectures, or content for a podcast, these tips will help you capture clearer audio with less distraction.
1. Start with recorder placement
Where you place the recorder has a big impact on the amount of background noise it captures. The closer the microphone is to the speaker, the stronger the voice signal will be compared to the surrounding sound. That means the recorder does not have to boost quiet audio as much, which helps reduce hiss, room echo, and environmental noise.
For voice recordings, aim to keep the recorder within a comfortable speaking distance, usually about 6 to 12 inches away. If it is too far away, the mic will pick up more of the room than the voice. If it is too close, you may get plosives, distortion, or uneven levels.
Also consider the physical environment. Keep the recorder away from air vents, computer fans, windows, traffic-facing walls, and other steady noise sources. Even a few feet of separation can make a noticeable difference.
2. Point the microphone in the right direction
Microphone direction matters because most voice recorders are designed to capture sound best from a specific angle. Check your recorder’s pickup pattern and aim the mic toward the speaker’s mouth. If your device has a directional or front-facing mic, avoid placing it off to the side unless the manual recommends it.
When possible, position the recorder so the least noisy side faces the background noise source. For example, if a fan is running on one side of the room, place the rear or less sensitive side of the recorder toward it. Small changes in angle can significantly reduce unwanted sound.
If you are using a handheld recorder, keep it steady and pointed consistently at the speaker. Wobbling or shifting position can change the sound profile and introduce extra room noise.
3. Set gain carefully
Gain controls how strongly the microphone signal is amplified. Too much gain makes quiet background noise louder and can create distortion. Too little gain makes the voice hard to hear, which often leads to boosting the track later and increasing noise.
The best approach is to set gain so the voice is clear and strong without clipping. Do a short test recording and listen for peaks. If the recorder has a level meter, aim for healthy speech levels with some headroom. This helps protect against sudden loud words while keeping the noise floor as low as possible.
If you are learning how to reduce background noise in voice recording, gain is one of the most important settings to master. A clean recording starts with balanced input levels, not with aggressive fixes after the fact.
4. Use wind protection outdoors
Wind is one of the most common causes of ruined voice recordings outside. Even light breezes can create low-frequency rumble that overwhelms speech. If you record outdoors or near open windows, use a foam cover, windscreen, or furry wind protector to reduce air movement hitting the microphone.
Try to stand in a sheltered location when possible. Walls, buildings, parked vehicles, and natural barriers can help block direct wind. Turning your body or recorder away from the breeze can also make a difference.
If the wind is strong, no setting can fully solve the problem. In that case, moving indoors or choosing a different time may be the only reliable fix.
5. Turn on noise reduction only when it helps
Many recorders include built-in noise reduction or low-cut filters. These tools can be useful, but they are not always the right choice. Noise reduction works best for steady background sounds like hum or air conditioning. It is less effective for changing noises such as talking nearby, footsteps, or traffic.
Before enabling any processing, record a test clip with the feature off and then on. Some noise reduction settings can make voices sound thin, underwater, or unnatural if used too strongly. A light touch usually sounds better than an aggressive setting.
Low-cut or high-pass filters can be especially helpful for cutting low rumbles from handling noise, wind, or vibration. If your recorder includes this option, test it in your typical recording environment.
6. Choose the right audio format
The audio format you choose affects how much detail is preserved. For the cleanest results, record in a high-quality format such as WAV whenever possible. WAV files are uncompressed, which means they keep more of the original sound and give you more flexibility during editing.
Compressed formats like MP3 are smaller and easier to share, but they can lose some detail and may make post-processing less effective. If your goal is to improve clarity and reduce background noise later, starting with a higher-quality format is the better choice.
Also check sample rate and bit depth settings if your recorder offers them. Higher-quality settings generally capture more detail and can help preserve speech clarity in noisy conditions.
7. Prepare the room before you record
Room preparation is one of the easiest ways to reduce background noise in voice recording. Hard surfaces like tile, glass, and bare walls reflect sound and create echo, which can make speech sound distant or muffled. Soft materials absorb sound and help create a cleaner recording.
To improve the space, close doors and windows, turn off fans and appliances, and place soft items around the recording area. Curtains, rugs, couches, blankets, and bookshelves can all help reduce reflections. Even recording inside a closet with hanging clothes can produce surprisingly clear audio.
If you record regularly, consider setting up a dedicated corner or small space with predictable acoustics. A consistent environment makes it easier to get repeatable results.
8. Use post-processing to clean up the recording
Even with good recording habits, some background noise may remain. That is where post-processing comes in. Audio editing software can help reduce hum, hiss, room noise, and other distractions.
Common tools include noise reduction, equalization, compression, and normalization. Noise reduction can sample a section of background noise and lower it across the track. Equalization can reduce unwanted low-end rumble or harsh high frequencies. Compression can help even out speech levels, though too much can make noise more noticeable. Normalization can raise the volume to a consistent level after cleanup.
Use these tools carefully. Heavy editing can damage voice quality and create artifacts that sound worse than the original noise. Make small adjustments, listen closely, and stop when the recording sounds natural.
9. Watch for the common causes of muffled recordings
Muffled audio is often mistaken for background noise, but the cause is sometimes different. A muffled recording can happen when the microphone is blocked, placed too far away, covered by clothing, or aimed poorly. It can also result from recording in a room with too many soft surfaces or from using an overly aggressive noise reduction setting.
Other common causes include low battery levels, dirty microphone ports, incorrect input selection, or a windscreen that is too dense for indoor use. If the voice sounds dull or distant, review the physical setup before changing software settings.
A good troubleshooting habit is to test one change at a time. That makes it easier to identify whether the issue is coming from the room, the mic position, the settings, or the editing process.
10. Check your equipment before every session
Reliable audio starts with reliable gear. Make sure your recorder is fully charged, the memory card has enough space, and the microphone is free of dust or debris. If you use external accessories, confirm that they are attached correctly and compatible with your recorder.
If you want to go deeper into setup quality and monitoring, this guide can help: is your audio monitoring kit superbly equipped. A well-prepared monitoring setup makes it easier to spot noise problems before they ruin a session.
Also, always do a short test recording before the real session starts. Listen for buzz, hiss, echoes, wind, and clipping. A one-minute check can save you from losing an important recording.
Final thoughts
Learning how to reduce background noise in voice recording is mostly about controlling what the microphone hears. Keep the recorder close to the speaker, aim it correctly, set gain carefully, protect it from wind, choose a clean audio format, and prepare the room as much as possible. Then use post-processing only to polish the result, not to rescue a bad setup.
When you combine good recording habits with thoughtful editing, your voice recordings will sound clearer, more professional, and much easier to understand.
What is the best way to reduce background noise in voice recording?
The most effective method is to record the voice as close to the microphone as practical while keeping the room quiet and using the correct gain settings. Good placement usually matters more than software cleanup.
Should I use noise reduction on every recording?
No. Use noise reduction only when it improves the audio. Too much processing can make voices sound unnatural or create distortion.
Why does my recording sound muffled?
Muffled audio is often caused by poor mic placement, a blocked microphone, recording too far away, or using overly strong noise reduction. Room reflections and incorrect accessories can also be a factor.
What audio format is best for cleaner voice recordings?
WAV is usually the best choice because it preserves more detail than compressed formats like MP3, which helps when editing later.